




The Ultimate Guide to Digitizing Family Photos: Steps, Tips, and FAQs
In today’s digital age, preserving cherished memories has never been more important. Here’s a detailed guide on how to digitize and organize your old family photos efficiently.
Why You Should Digitize Old Photos
Digitizing your memories serves multiple purposes:
- Safeguard Memories: Creating digital backups protects your photos from loss or damage.
- Free Up Space: Transform bulky photo albums into sleek photobooks, allowing for more photos in considerably less space.
- Pare Down: Eliminate duplicates and low-quality images, ensuring that only the best memories are preserved.
Step-By-Step Process for Photo Digitization
1. Assess Your Collection
Begin by identifying the different formats and locations of your physical and digital photos. Consider:
- Traditional photo albums
- Loose prints
- Digital files on devices, including computers and cloud storage
Gathering everything in one place will simplify your digitization project.
2. Define Your Scope
Limit the scope of your digitization project to avoid feeling overwhelmed. Consider starting with:
- A specific album or event
- One year of photos
- A particular category (like vacations or family gatherings)
Breaking tasks down into smaller, manageable chunks makes the project less daunting.
3. Gather Supplies
To digitize your photos effectively, you may need the following supplies:
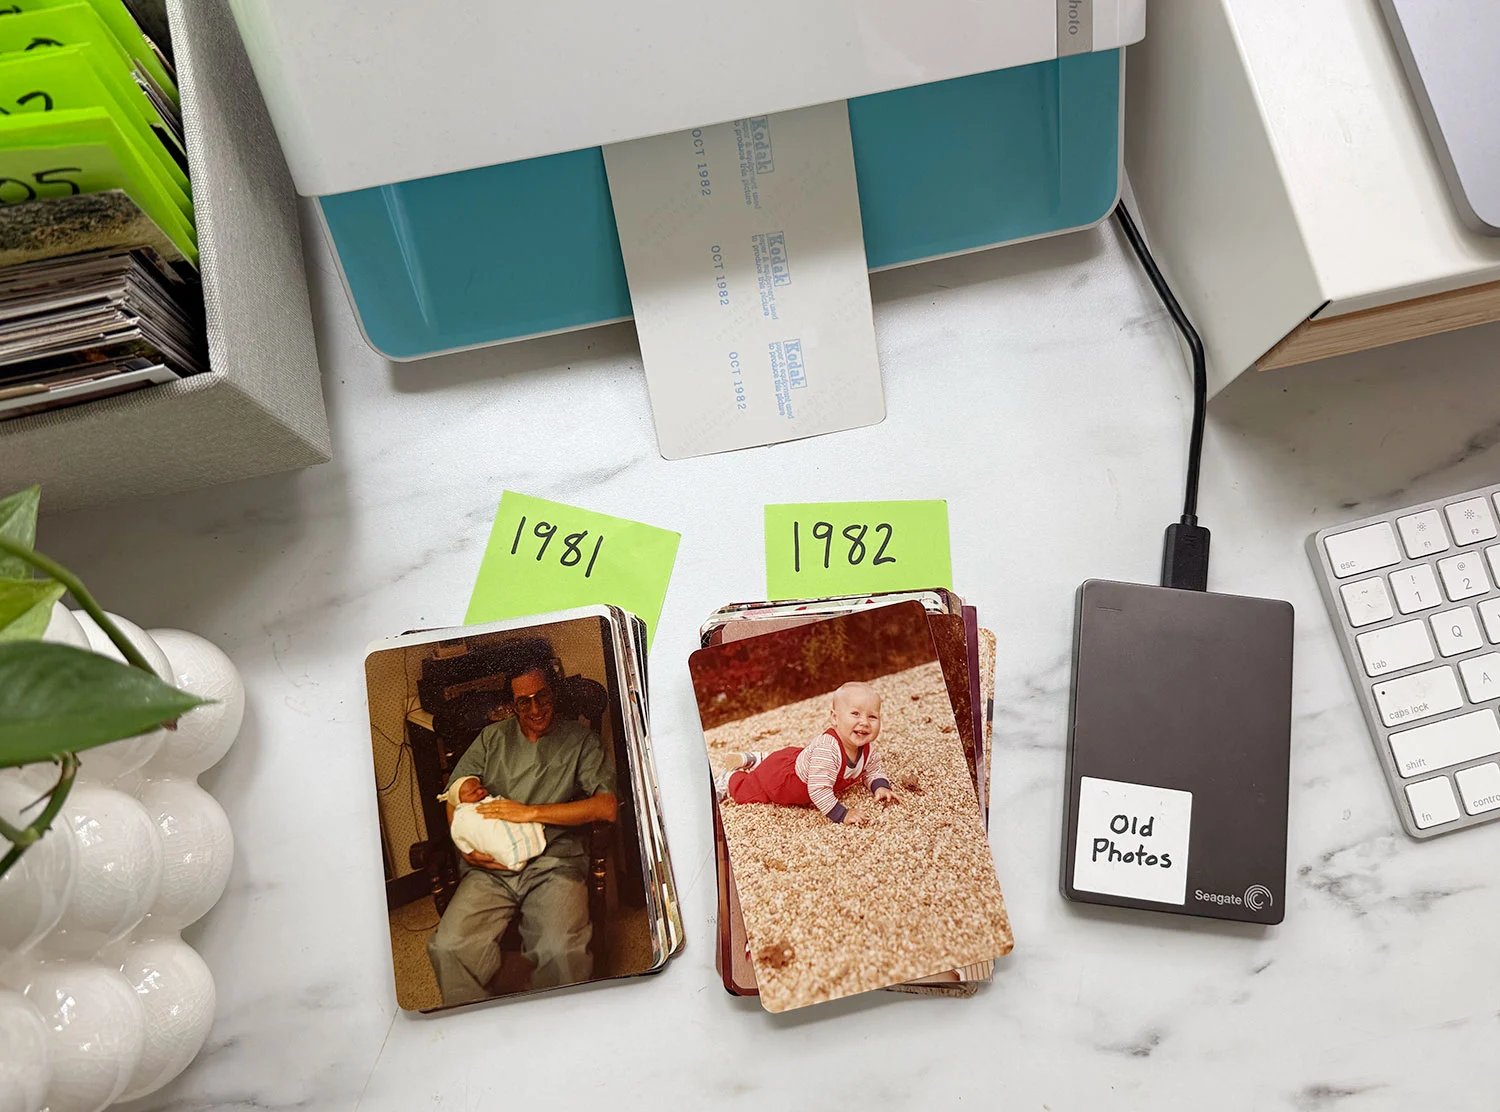
- Photo Scanner: Look for a quality scanner like this ePhoto scanner for reliability and efficiency.
- Film or Slide Scanner: If you have negatives or slides, consider investing in a scanner or using services like LegacyBox for large batches.
- External CD or Memory Card Reader: These are essential if you have photos saved on older formats.
- External Storage: Backup your files using an external hard drive or flash drive for additional safety.
- Cloud Storage: Upgrade your account on services like Google Drive or iCloud to ensure peace of mind.
4. Create Main Backup Folders
Establish a directory for your digitized photos in your computer or cloud storage. This central location simplifies organizing and retrieving your images.
Consider creating folders based on:
- Years
- Events
- People
5. Transfer Existing Digital Photos
Before scanning, gather any digital versions of your photos you may already have. This includes files from older digital cameras or social media platforms. Transferring these files early on saves you time and ensures you have the highest quality images available.
6. Sort Physical Photos
Prepare your physical photos for scanning by following these steps:
- Remove Prints from Albums: If not keeping the albums, take photos out for easier scanning.
- Copy Important Captions: Write down essential information from albums, like names or dates, on the backs of prints.
- Pare Down Your Collection: Discard unwanted prints, particularly duplicates or poor-quality images.
- Organize Chronologically: Arrange the prints according to your backup folders, making the scanning process straightforward.
7. Scan & Save in Batches
Utilize your scanner to digitize photos in batches for efficiency. Follow these steps:
- Scan a group of photos from the same time period.
- Export the batch to your main backup folders.
- Rename the files using a consistent format (e.g., Person-Year-Month).
- Move to the next batch of photos.
8. Backup Your Files
Make sure to back up your digitized photos in multiple locations to safeguard against data loss:
- On your laptop
- On an external hard drive
- In cloud storage
Regular backups after significant milestones (like finishing an album) are also recommended.
Additional Tips for Enhanced Accessibility
Consider uploading your digitized photos to apps like Google Photos or Apple Photos for easy access. Take note of these potential drawbacks:
- Date Inaccuracy: Photos may get organized based on the date scanned, rather than when they were taken.
- Mixing Old and New: Maintain separate folders for scanned memories and recent photos to avoid confusion.
Frequently Asked Questions
1. How much storage do I need?
Typically, scanned images are compact—2,500 photos take approximately 3.5 GB. Basic storage options are readily available and often free.
2. What quality can I expect from my scans?
Photos scanned at 300 DPI are usually sufficient for reprints and displays. Adjust your scanner settings to 600 DPI for larger prints.
3. Additional costs?
Consider existing external hard drives and subscriptions you may already own. Options vary widely, but entry-level flash drives are often under $10.
Conclusion
Digitizing family photos can be a rewarding experience that allows you to preserve your memories for years to come. Following the outlined steps ensures a structured approach to organizing and safeguarding your cherished moments. For more insights into family photo management, explore additional resources available online. Happy scanning!


